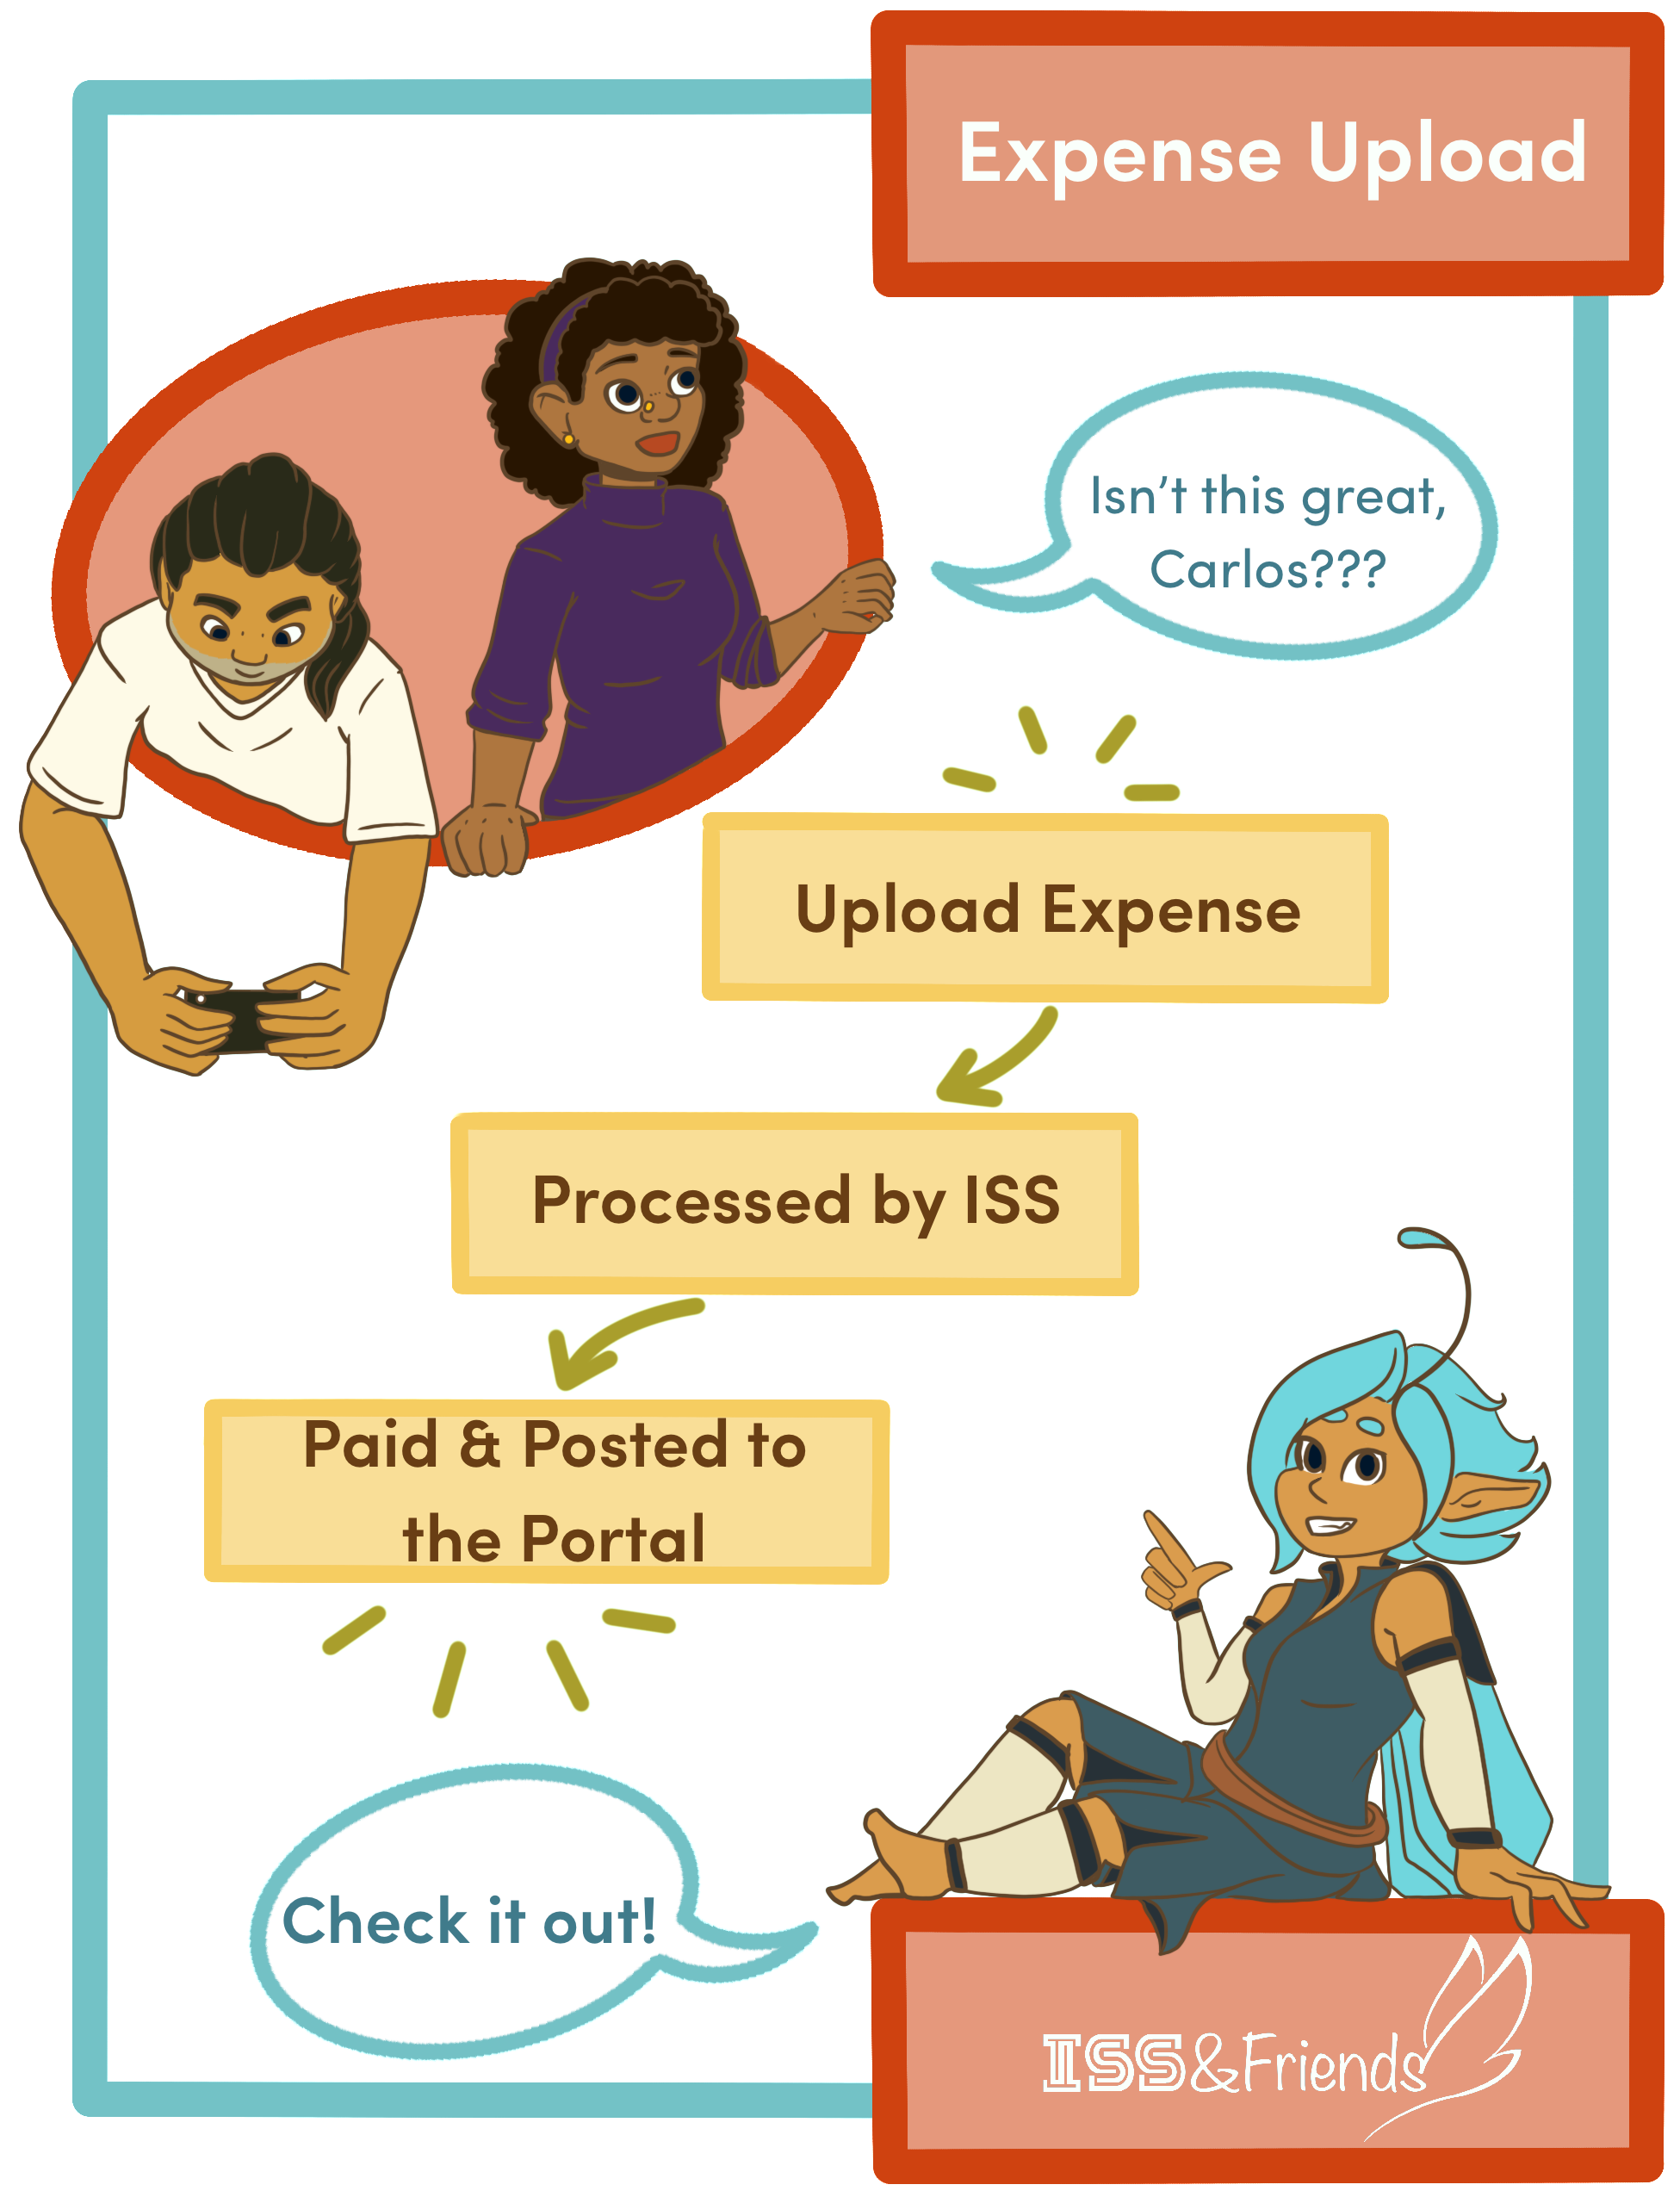
Uploading An Expense
There are multiple ways to access the Submit Expense form.
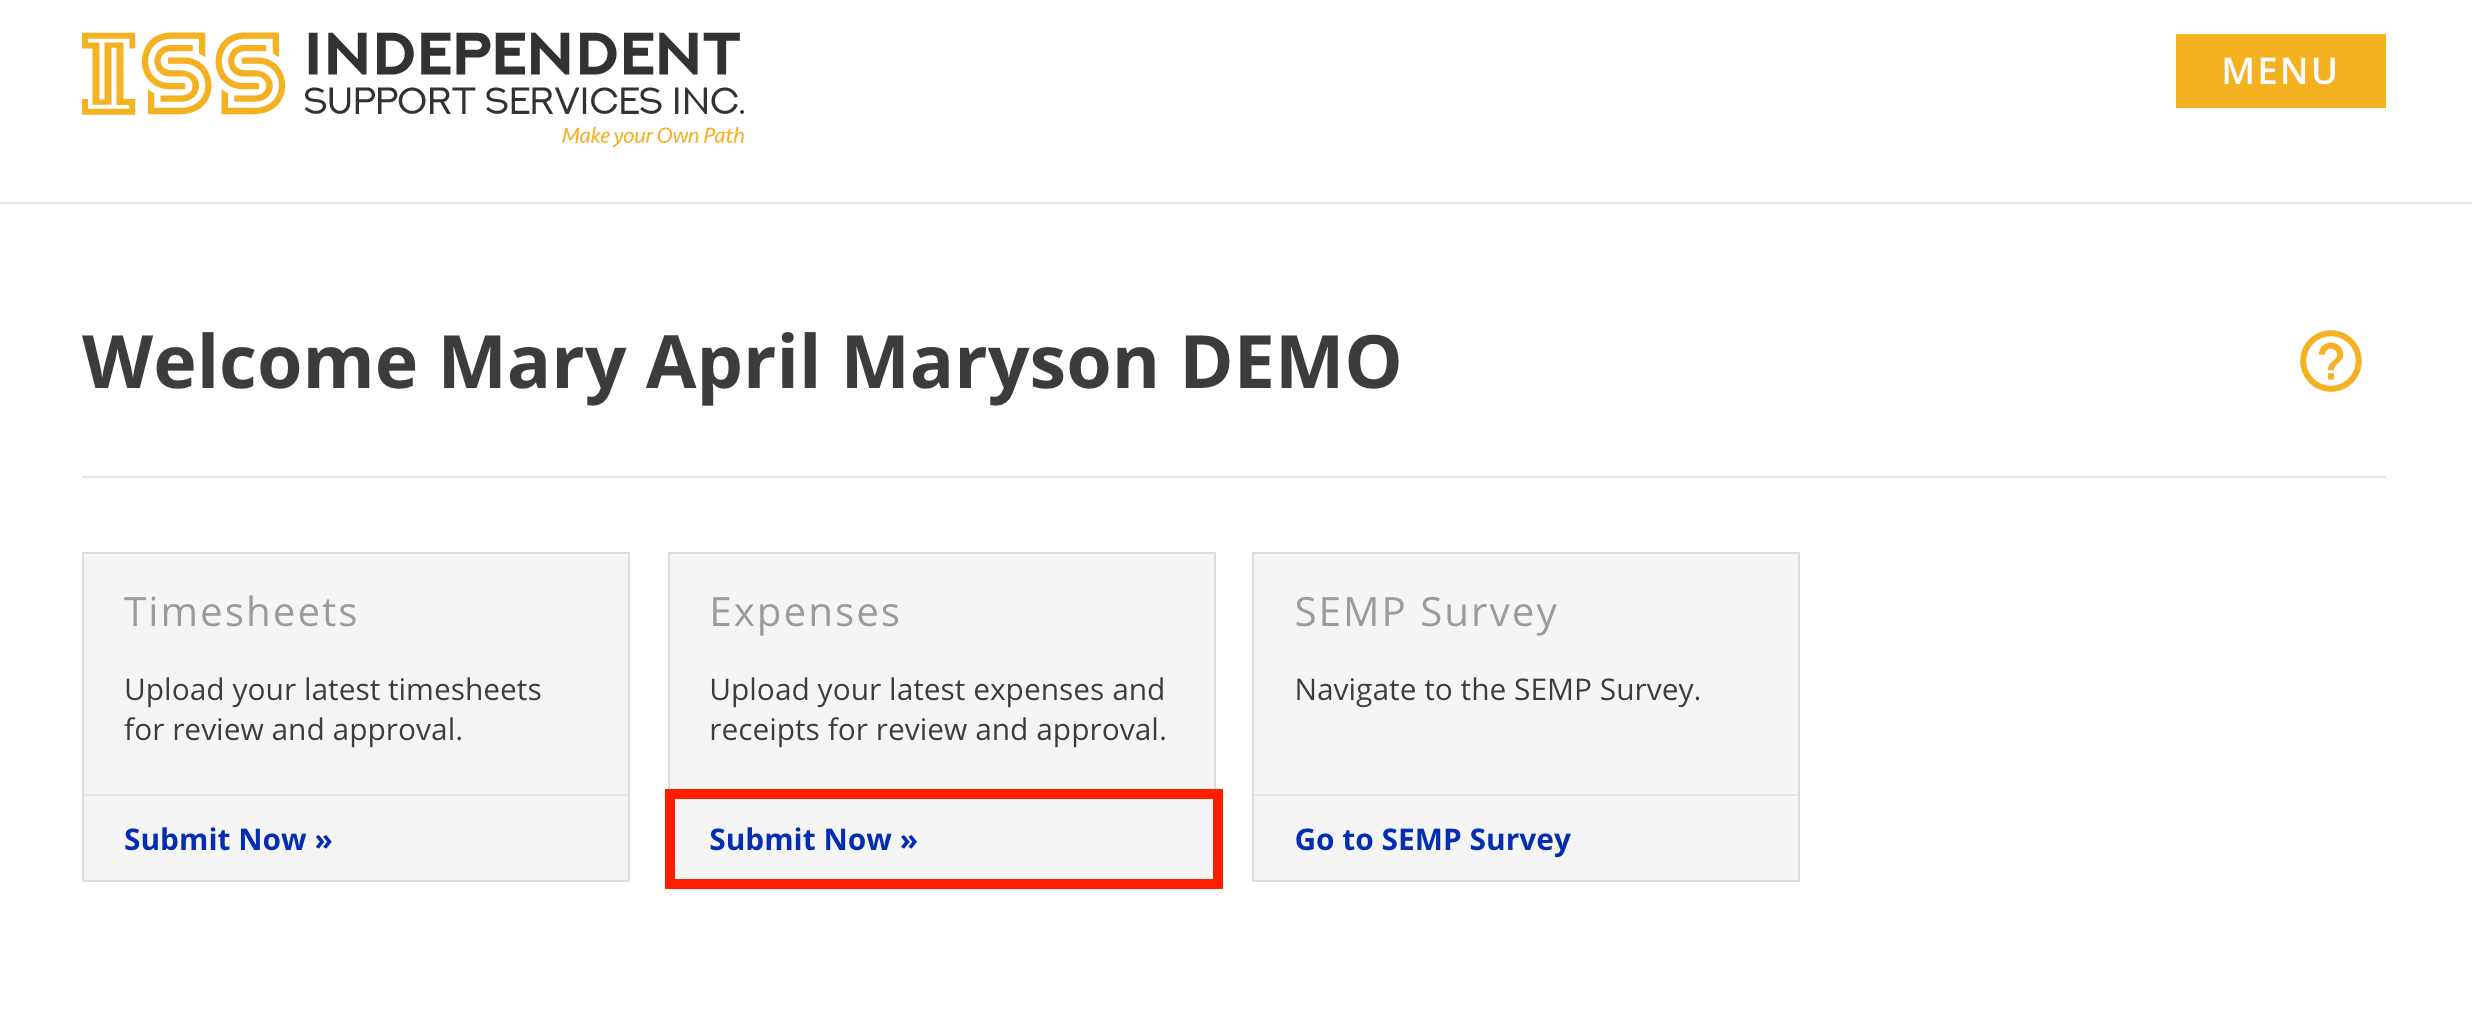
- From the Home page of the portal, click Submit Now » in the Expenses tile.
- When viewing an individual in the Staff Dashboard, click Submit Expense at the top

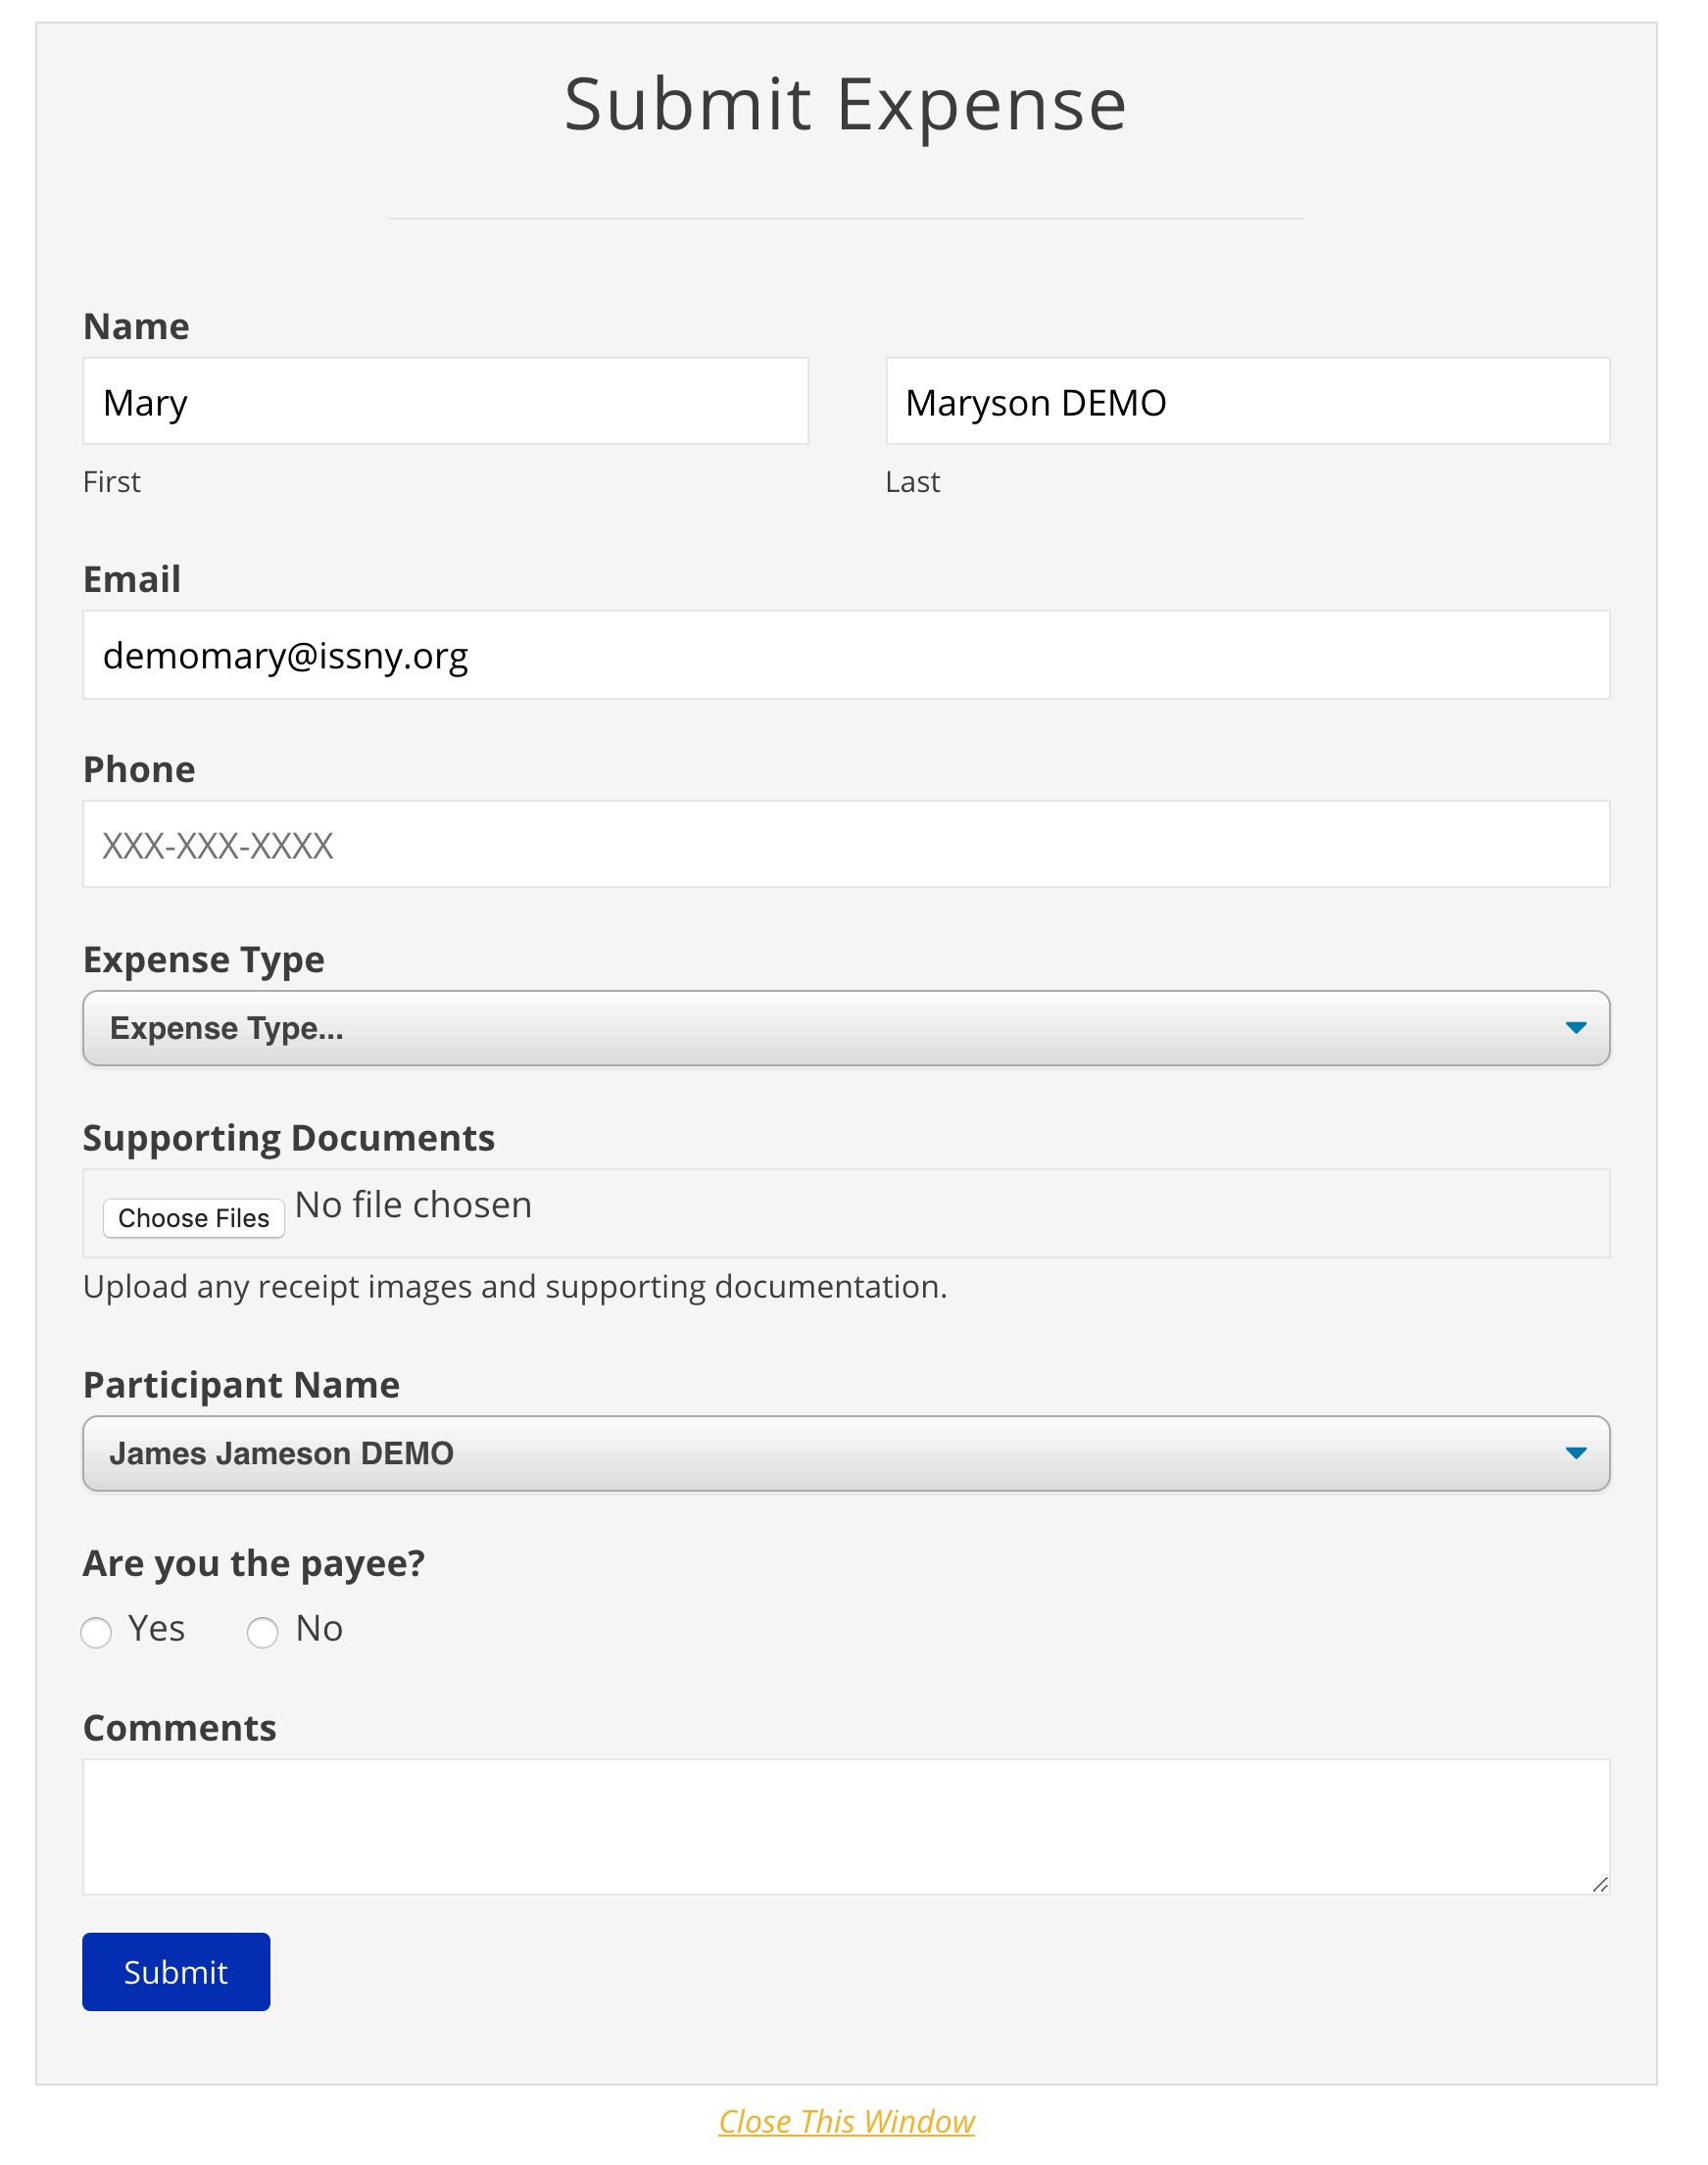
- Complete the form.
-
If you have already mailed in your expense reimbursement request, do NOT also upload it.
- First Name, Last Name, and Email are auto-populated when accessed through the portal.
- Phone Number and Comments are optional. All other fields are required.
- Allowed file types: jpg, gif, png, pdf
-
If you have already mailed in your expense reimbursement request, do NOT also upload it.
- Click Submit.
- You will receive a confirmation email at the email address provided in the form.
- ISS will review and process the submission.
- Note: Unlike Timesheet Uploads, Expense Uploads are not viewable on the portal until processing is finished.
Suggestions For Capturing a Quality Scan Image
Regardless of device, make sure to scan your expenses in a well-lit area.
For iOS Devices
There are several apps available on the App Store you can use to create a scan using your iPhone’s camera. This can also be done natively using the Notes app:
Open Notes.Create a new note.Tap the camera icon, then tapScan Documents.Position your expense in the camera’s view.Capture the image.Adjust the corners as needed.TapKeep Scan.TapSave.Tap theShareicon.(10)TapSave to Files.(11)Choose a location to which to save the file. You will select the document from this location when you upload the expense.
For Android Devices
There are several apps available on the Google Play store, including Clear Scan and Microsoft Office Lens, both of which are free. You can use one of these to scan your expenses and save them to your device to upload in the portal. You can also use Google Drive, which comes pre-installed on most Android devices:
Open the Google Drive app on your device.Tap the “+” button.TapScan.Follow the prompts to scan, crop, and save the image.